The First Fusing
To prepare for the first fusing, break up the scrap glass into pieces that are no more than about 3 wide. As always with fused glass, clean the pieces well to avoid devitrification (surface crud) during fusing.
Place the fiber paper on the kiln shelf and arrange the dams for to create a 10 inch square as shown in photo below.
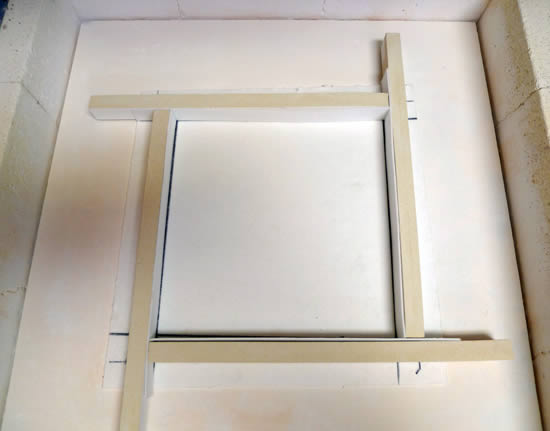
The fiber paper is important as it will allow air to escape as the glass melts together. Take note of the fiber strips that line the inward facing sides of the dams. These strips serve two purposes: They prevent the glass from sticking to the dams, and they serves as a gasket between dams so that the glass will not leak.
Now place the glass inside the dams as shown in this photo…
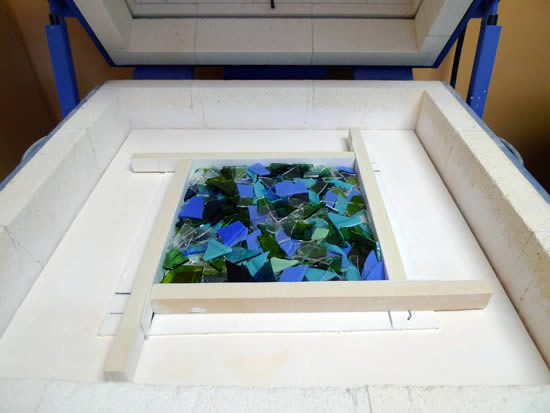
…and fire according using this schedule:
| SEG | RAMP F/H | TARGET | HOLD | Notes |
| 1 | FULL | 800 | 30 min. | The kiln can heat at full speed since thermal shock is not a concern (everything is already in pieces!). The 30 minute hold allows the binders in the fiber paper to burn off completely before the glass starts to soften, reducing surface hazing. |
| 2 | 500 | 1225F | 2 hrs | This very long “bubble squeeze” allows the glass to soften and settle together, squeezing out much of the air that would otherwise be trapped as bubbles in the final piece. |
| 3 | FULL | 1500F | 30 min | This is the fusing segment where all the small pieces become a single, thick slab of glass. |
| 4 | FULL | 960F | 3 hrs | Anneal the glass very conservatively to minimize stress that might make it difficult to successfully saw the slab into strips later. |
| 5 | 50 | 800F | – | |
| 6 | 100 | 700F | – | |
| 7 | 300 | 100F | – | Final cooling to room temperature. |
Once complete, allow the glass to sit at room temperature for several hours before proceeding to the next step when you will cut it with your tile saw. This is important – solid glass is a terrific insulator and the core of a thick slab can remain hot long after the surface is cool to the touch.
Back to Scrap Glass Project Start