Cut, Fuse, Repeat (Part 1)
You should now have a 10 inch square slab of glass that is about 3/8 inch thick. Being careful not to cut yourself on what may be sharp edges, take the slab to your tile saw and cut it into 3/8 inch wide strips. A cutting guide, as shown in the photo, will help you keep the strips all the same width.
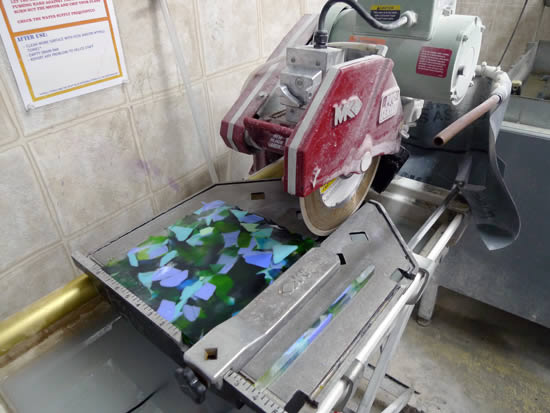
When cutting pieces this narrow, advance the glass slowly to minimize unwanted breaking. If the bars do break, don’t worry. Everything is going to be fused together again.
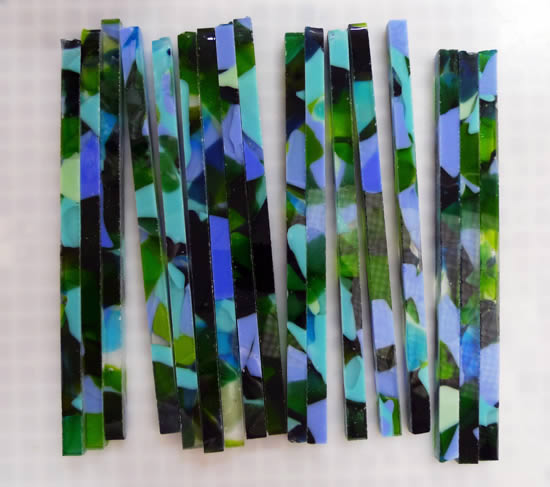
Clean the bars and lay them out on your work table. You should have something like what you see in this photo:
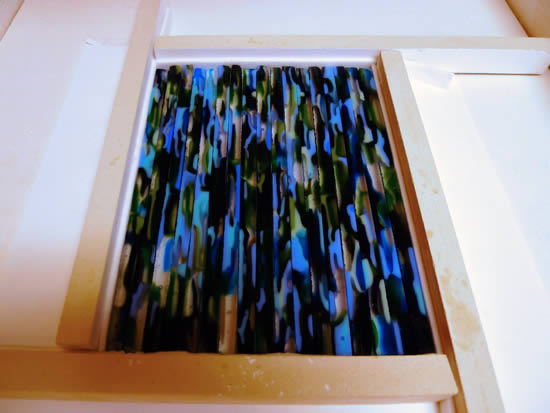
Take the bars to the kiln and re-dam so that they can be fused into a new slab. Make sure to mix up the order AND roll each bar one quarter turn so that a cut edge faces up:
 .
.
If any of the bars broke while cutting with the tile saw, simple place the pieces back together.
You’ve likely noticed that the slab is narrower than before. That’s because a little glass is lost with each saw cut. A typical tile saw blade 1/16 inch so there was slightly more than an inch of glass lost during this first pass at the saw.
Our schedule for this firing is similar to the one we used on the first firing:
| SEG | RAMP F/H | TARGET | HOLD | Notes |
| 1 | 500 | 800 | 30 min. | Our pieces are thicker than during the first firing so we will slow down our initial heating to avoid thermal shock. |
| 2 | 500 | 1225F | 30 min | We aren’t as concerned about bubbles this time – but letting the glass soften here will allow the heat to melt the glass more evenly during the next segment. |
| 3 | FULL | 1500F | 30 min | No change to these segments from the previous fusing. |
| 4 | FULL | 960F | 3 hrs | |
| 5 | 50 | 800F | – | |
| 6 | 100 | 700F | – | |
| 7 | 300 | 100F | – |
Click the link below for Part 2 of this step to see the results.
Back to Scrap Glass Project Start